Scale model kits
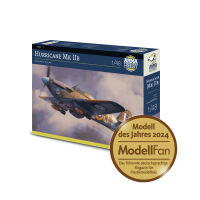
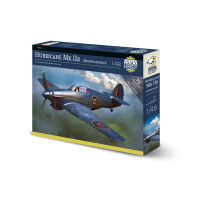
In our shop we offer scale models kits. Browsing our shop offer your attention is attracted by photos or illustrations of the finished model of a military aircraft or vehicle. Please remember that what you buy is an assembly model kit! The boxed parts of the model are plastic or metal or the resin They have to be assembled by yourself .
Note - The model is not a toy for children!
Model kits contain small parts which need to be cut and fit before gluing . This requires patience and skill. According to the legal standards of our models should be defined as models for collectors of 14 years. Do not give them under any circumstances to children aged 1-3 . Scale models do not have the appropriate certificates for this age group because they are not intended for them . Danger for children can chocking with too small parts or injury with sharp edges.
How to build a model kit ?
To make the model need some useful materials:
- scale model
- model glue
- putty
- model paint
and modeling tools:
- hobby knife
- nail file
- pins and toothpicks
- 600 grade sandpaper and finer
- Good quality model or artist brushes
Stages of assembly of the scale model
- Parts molded with frames or ingots have to be cut with modeling knife. Then gently clean parts from molding flash with sandpaper or nail file . Then, according to the order specified in the instructions part should be glued and painted .
- Models should be glued with proper glue – plastic parts with plastic glue, resin and metal parts with epoxy or superglue. Any gaps caused by parts mis fit should be filled with putty and polished with sandpaper after dry.
- When painting you should be prepared for mixing paint with suitable paint thinner in small plastic or metal containers like beverage cap. Mix the paint with thinner to container with a diluent to the consistency of milk and apply a thin layer along the long axis of the painted element. Give a time to dry and paint again (or even more times , allowing the paint to dry completely between layers ) to achieve full coverage and a smooth surface. .
- At the end of assembly is the time to place decals . It should be done in accordance with the model instruction. Each marking should be cut out decal sheet and applied one at once. First soak them in water for a few seconds and set aside (eg on dry tissue paper or newspaper ) to soak and dissolve the glue. After about a minute gently slide decals with brush moistened with water to a proper place on model surface. Decal can then gently set in the correct position, Use a tissue paper to remove excess water. More about the decals for scale smodels you can find in our guide.
These principles are the most basic information . For the best results, look for further information modeling in publications and on the Internet .





 Polish